Baking bread with wholerye flour is not that simple. Rye does not have any gluten at all and it absorbs a lot more water than (whole)wheat flour. It does have a nice fruity/earthy taste and it’s especially loved in Germany and Eastern Europe.
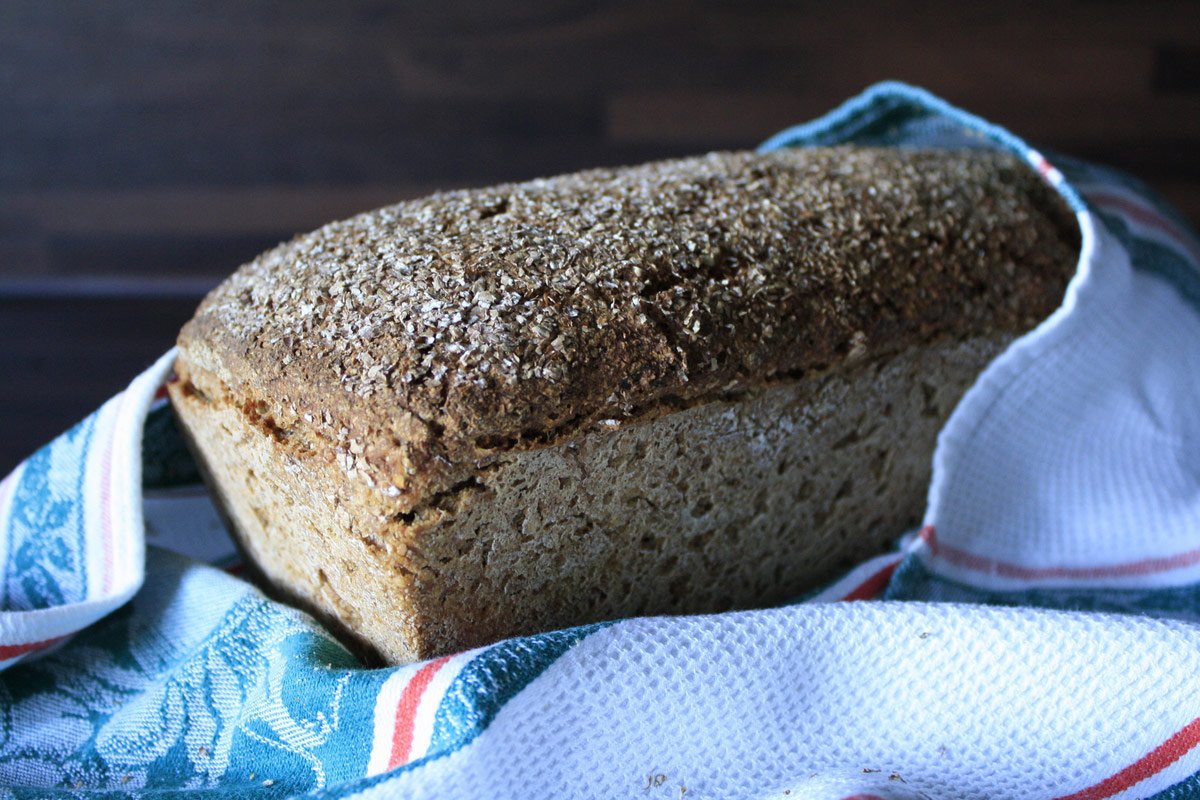
For this recipe, I baked the bread in a “pullman tin” – wich is essentially just a rectangular bread form without lid (as pullman bread is usually baked with lid attached).

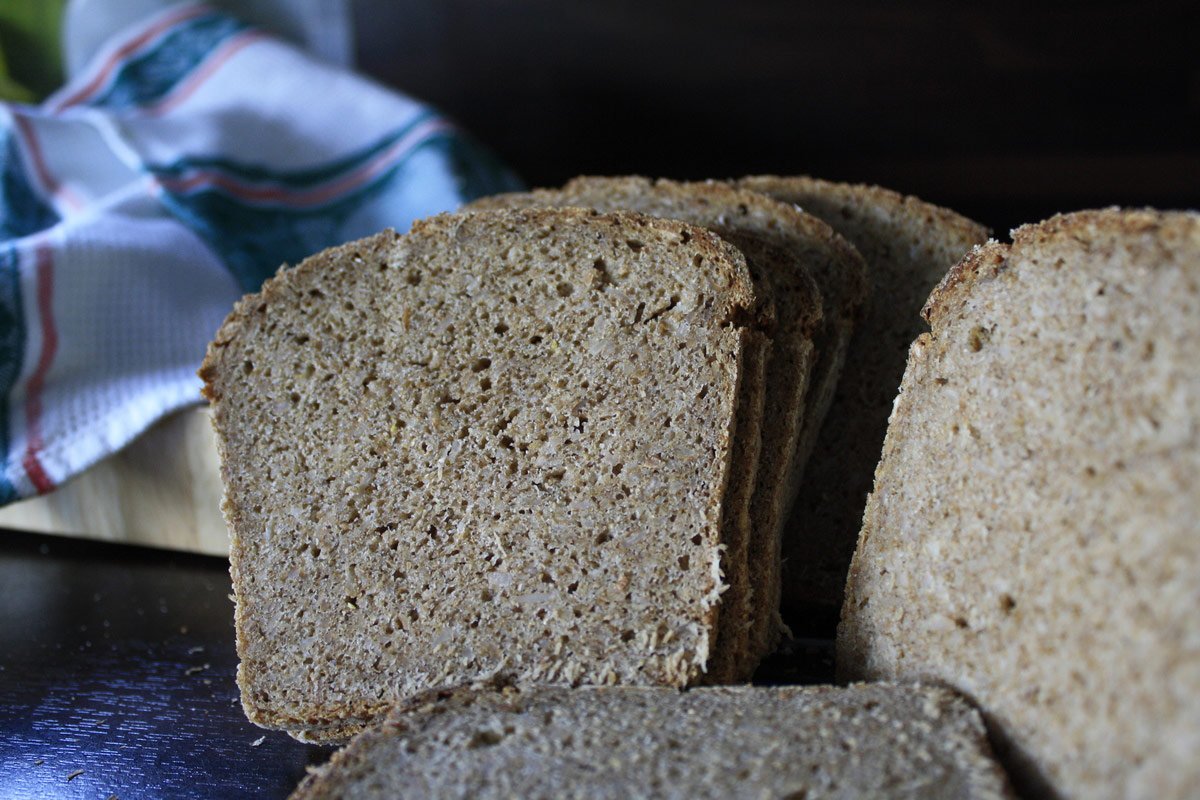
As you can see, the bread has not risen very well, as we might be used from 50% or less wholewheat sourdough breads. That is because of the lack of gluten. In this recipe, I’ve used 70% wholerye flour and 30% wholewheat flour. Wholewheat does not have that much gluten as bread flour (as the bran cuts the gluten cells and make it difficult for the bread to rise) but it’s better than nothing. I really wanted to create a “100% wholegrain bread”.
Adding the soaker

The addition of a chopped rye soaker should make the crumb a bit more creamy. At the
same time you prepare the sourdough (used a stiff rye starter), you pour boiling water over chopped rye (or flakes) and leave it on the kitchen counter for as long as your sourdough will ripen. This was 15 hours. After that you can combine and continue to “try to knead”.
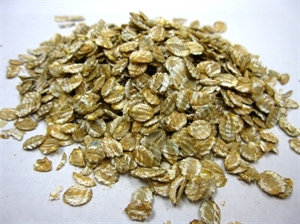
I was unable to find any ungrind or chopped rye grains in my area so I’ve used rye flakes instead (partially crushed grains, looks like image on the right).
Another challenge appeared with the flakes: they are much bigger than chopped rye and the recipe called for an equal amount of cooked water and rye. Normally, the rye would be completely covered to be able to soften overnight. This was not the case with the flakes!
Luckily, next morning I tasted some flakes and they were soft enough to incorporate into the final dough without too much trouble.
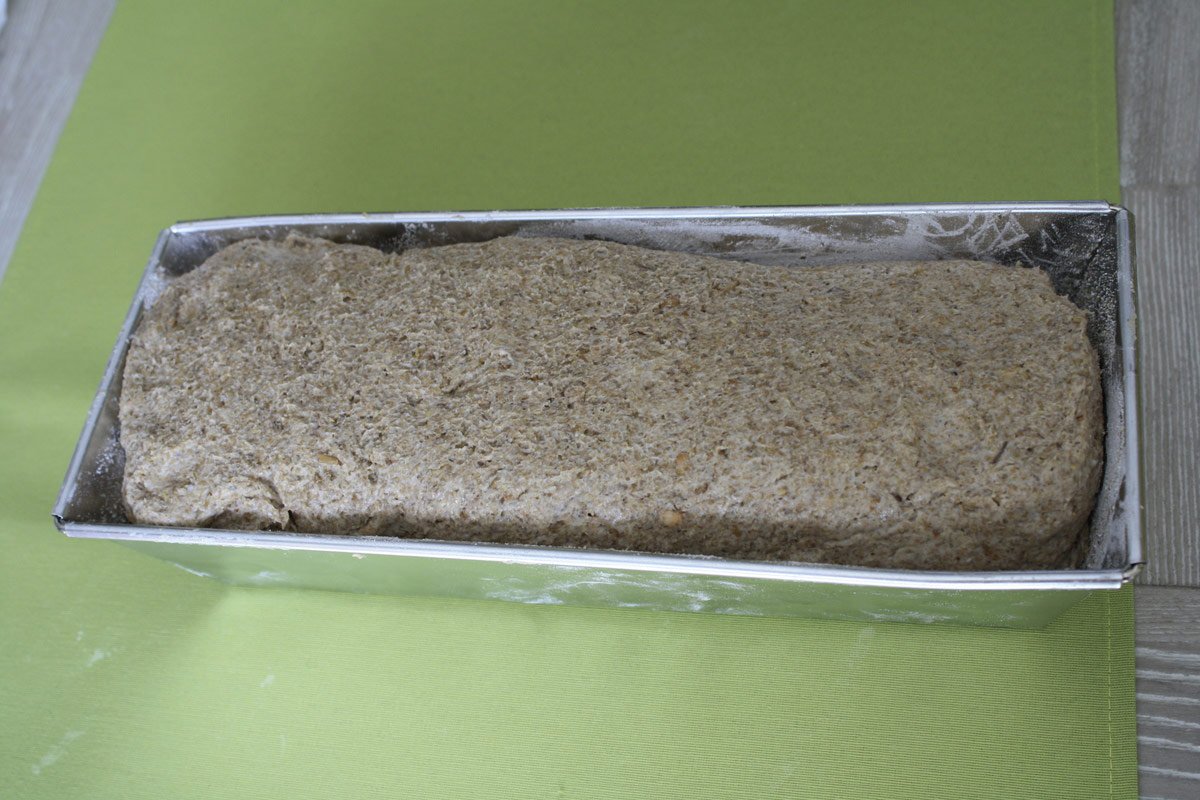
The dough was extremely sticky and dense. It was very difficult to shape (except maybe to create a brick?). I honestly thought this thing would not rise at all but hey, as you can see in the pictures, it still did (only marginally).
I added some wheat bran on top of the sticky loaf to be able to cover it with a towel for proofing. You should not knead it vigorously as there’s little gluten to be made. Fermentation was only 30 minutes and final proofing only an hour.

The recipe (from the BREAD book) asked for an additional teaspoon of commercial (dried) yeast, but I wonder whether it’s needed at all. I might leave it out next time.
I am still waiting for 24 hours to pass since you shouldn’t cut the bread before completely stabilizing the interior. Exciting!
Things to remember for next time
- Proofing for one hour at 29-30°C might not be enough for me. As you can see in the picture, the dough has only slightly risen and I’ve read other people’s experiments – they proofed the dough for 2 full hours – “until it doubled in size” (this statement is alwasy a bit fuzzy).
- The dough was extremely dense – I might have added too much wholewheat flour during the mixing stage because it was too sticky to knead by hand. Using a dough scraper to help with kneading wil eliminate adding too much flour.

By the way, our kitchen thermometer showed 24°C while preparing the bread so I needed a warmer and closed environment for the dough to do the proofing. I preheated the microwave oven for a bit to get the slight temperature rise and put the tin in there.
The only downside to this “trick” is that the temperature drops as soon as preheating is done and I can’t keep the constant 30°C, minimum temp. to preheat is 50+. Oh well!
